Chapter 5
STEP 5. PLACING THE CANOPY INTO THE DEPLOYMENT BAG, AND STOWING THE LINES
1. Lift the base of the folded canopy and slide the
reserve bag underneath. The grommets in the tongue
of the bag should be even with the bottom of the
stack. [Figure 5-95]

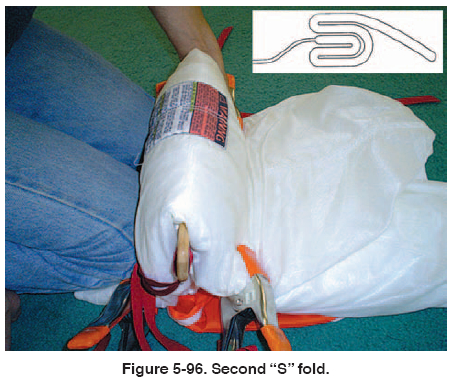
2. Make a second “S” fold to match figure 5-96.
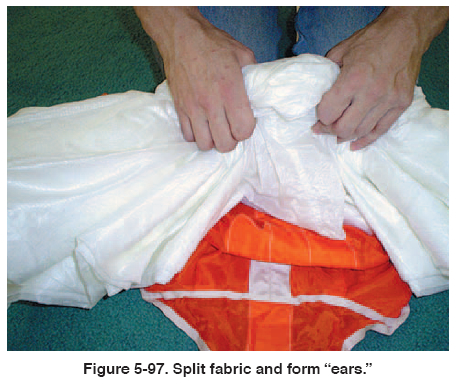
3. Split the loose fabric at the top to form two “ears.”
[Figure 5-97]
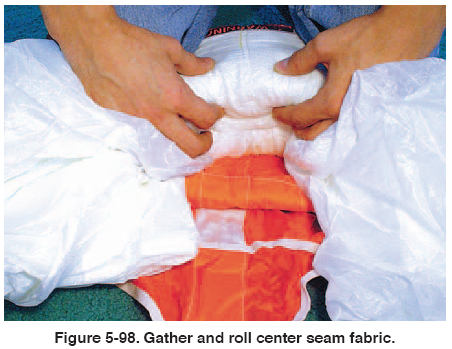
4. Gather the center cell material along the middle seam
until you reach the bottom. Roll the material under, but
do not cover the center cell. [Figure 5-98]
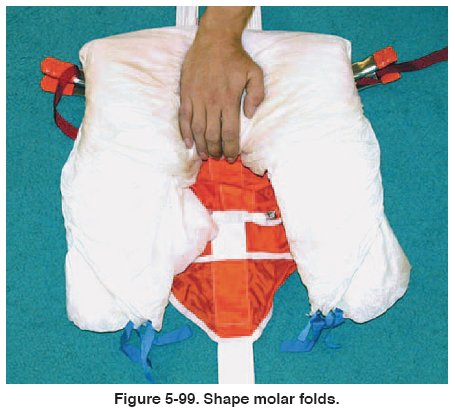
5. Hold down the center cell material and then shape the
molar folds. [Figure 5-99]
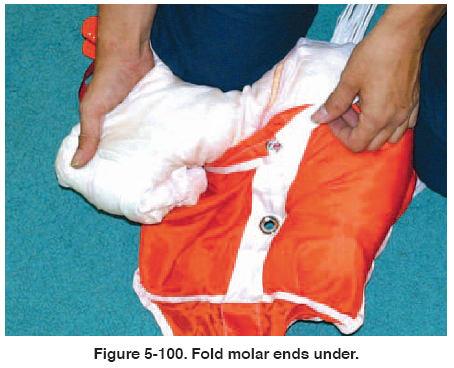
6. Fold the ends of the molar folds under to create the
bulk necessary to fill the top of the reserve bag.
[Figure 5-100]
7. When placing the canopy in the bag, allow the folded
canopy to stick out 2-3 inches at the mouth of the
bag to fill the corners of the reserve container.
[Figure 5-101]

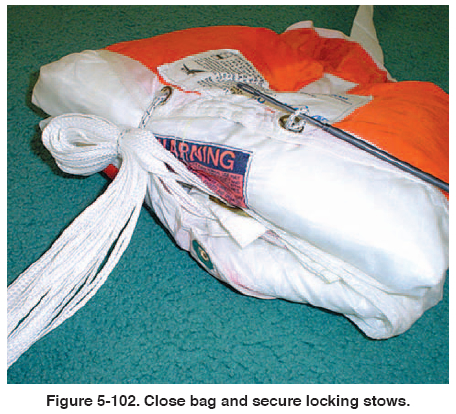
8. Close bag and secure with the locking stows.
[Figure 5-102 on page 5-40]
9. Shape the bag. The shape of the bag should reflect
the desired shape of the reserve container.
10. Cover any exposed hook Velcro® to avoid contact with
the lines.
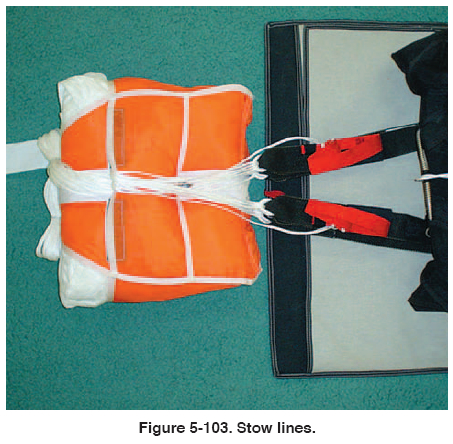
11. Stow the lines neatly leaving sufficient line between
the bag and riser ends. [Figure 5-103]
12. Thread the pull-up cord through the closing loop.
| 
