Chapter 5
STEP 6. PLACING THE BAG INTO THE CONTAINER AND CLOSING THE CONTAINER
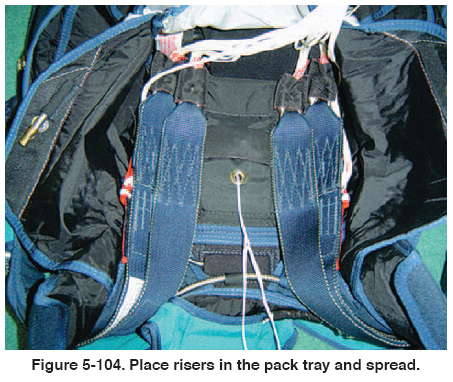
1. Place reserve risers into the pack tray. Spread the risers
with the rear riser to the outside to minimize the bulk
against the back pad. [Figure 5-104]
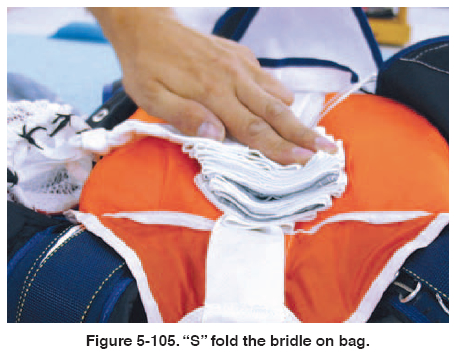
2. Place the reserve bag into the container and S-fold the
bridle in the center of the bag. [Figure 5-105]
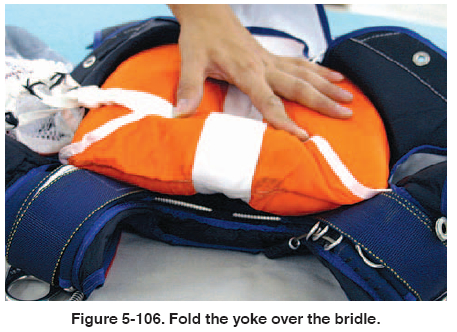
3. Fold the top yoke portion of the bag over the bridle.
[Figure 5-106]
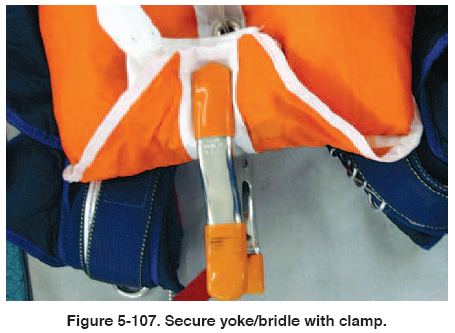
4. Secure in place with a clamp. [Figure 5-107]
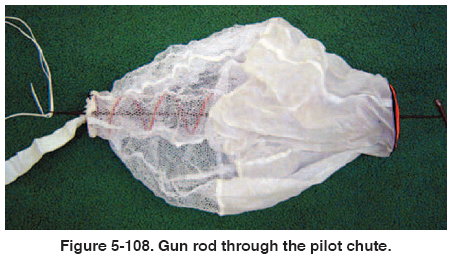
5. Use the gun cleaning rod to thread the pull-up cord
through the pilot chute. [Figure 5-108]
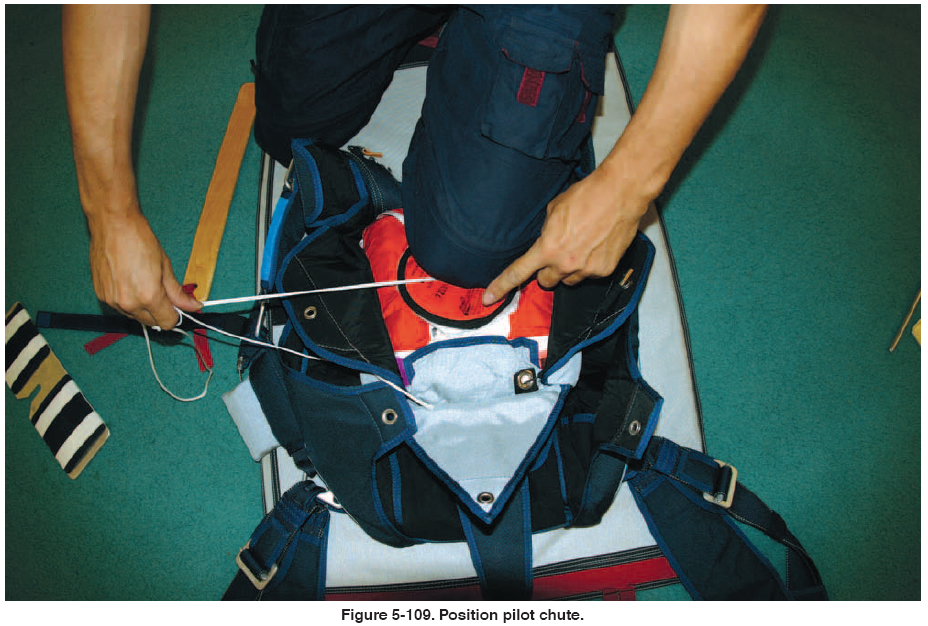
6. Center the base of the pilot chute on the center
grommet of the deployment bag.
7. Compress the pilot chute while stuffing fabric and
mesh between the spring coils.
8. Position the cap of the pilot chute with the arrow
facing toward the top or bottom of the container.
[Figure 5-109] Secure with a temporary pin.
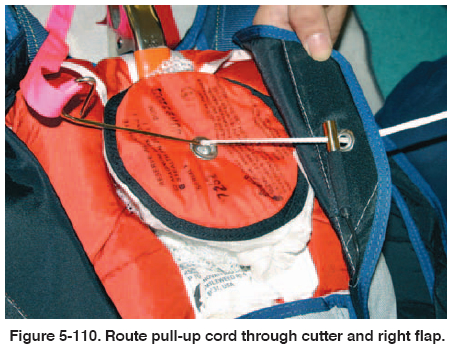
9. If an AAD such as a CYPRES® is installed, route the
pull-up cord through the cutter first, then through the
right (#1) side flap grommet. [Figure 5-110]
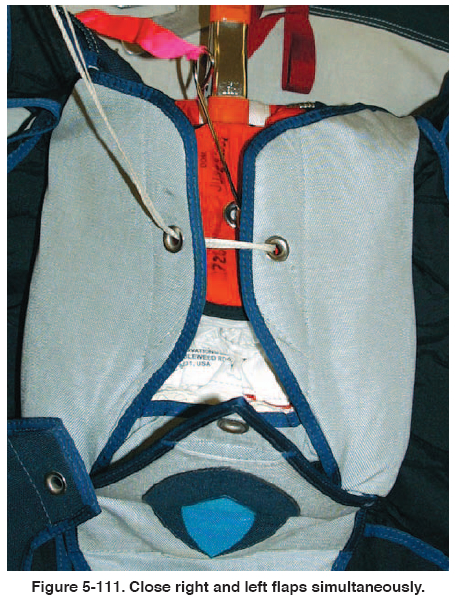
10. Next thread the left (#2) side flap grommet.
Simultaneously close the side flaps. [Figure 5-111]
Secure with a temporary pin.
11. Close the bottom flap (#3) and secure with a temporary
pin. [Figure 5-112]

Note: At this point, you should only be able to pull 1/4 –
1/2 inch of loop through the first three flaps. If you can
pull more, the loop is too long. Open container and
shorten loop.
12. Close flap #4 and insert ripcord pin. [Figure 5-113]
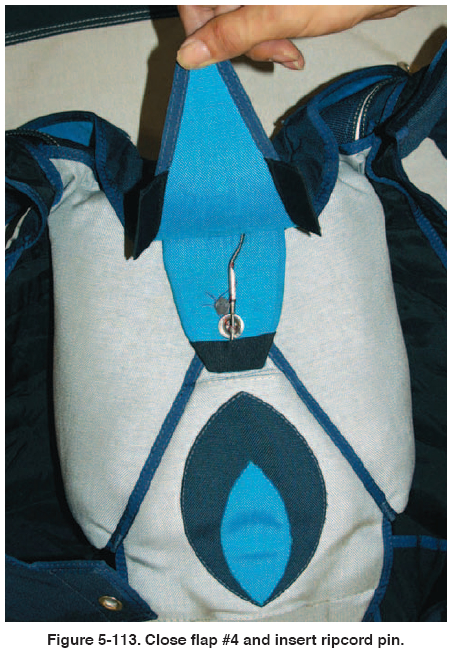
CAUTION: Place the closing plate on the bottom edge of
the inner top flap. This will protect the plastic stiffener if
you are kneeling on the pin protector flap.
The rigger should determine how tight the closing loop
is, and decide whether to perform a pull test.
WARNING: MAXIMUM ALLOWABLE PULL FORCE ON THE RESERVE RIPCORD IS 22 POUNDS (10 KG)
13. Once you are satisfied that the pull force is less than
22 pounds (10 kg), seal the ripcord and log the pack
job.
14. Place the data card in the data card pocket. [Figure
5-114]

COUNT YOUR TOOLS!
15. Complete the placard data on the orange warning
label. Failure to do so will void the TSO.
| 
