Chapter 5
STRAIGHTENING THE CANOPY
If a rigger finds lines out of sequence or the canopy is
inside out, it becomes necessary to remove any twists,
tangles, or turns. There are two things to remember when
encountering this situation. First, if the parachute was
originally straight and the entanglement occurred from
handling, it is possible to untangle the parachute without
disconnecting anything. Second, if the parachute was
assembled incorrectly in the first place, it will be virtually
impossible to straighten it without disassembling it.
These two scenarios become particularly acute when the
rigger is brought a parachute for repacking and it was
assembled incorrectly. At first the rigger assumes it to be
correct, but when a correct continuity cannot be done, it
becomes very frustrating, and the rigger may spend an
excessive amount of time trying to straighten the canopy.
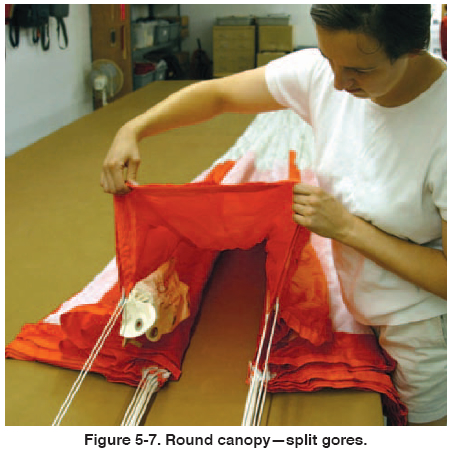
The rigger should always start at the top or apex end of
the canopy. Make sure that the top gore with the data
panel is facing up. Follow the gore to the apex so that the
upper lateral band is on the outside. Attach the apex to the
upper tension device. Next, flake the gores in sequence to
see if the canopy is straight. Split the canopy so the left
and right line groups are separate at the skirt of the
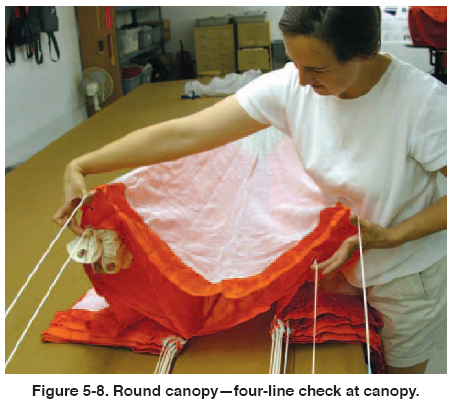
canopy. [Figure 5-7] Pick up the two center gores and
grasp the four lines. [Figure 5-8] These will be line
number 1 and the last line of the sequence. Run these
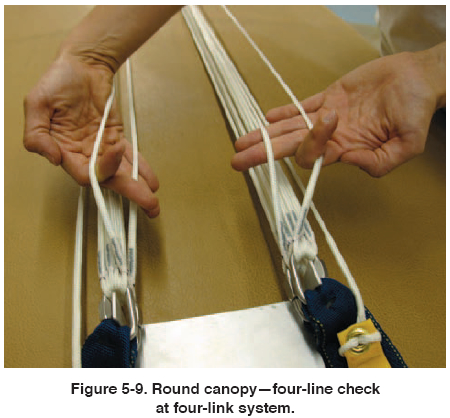
lines down toward the risers and/or container. On most
canopies, these lines will run to the inside, top connector link of a four-link system or to the inside of a two-link
system. [Figure 5-9] If these lines are correct, continue
the checking of the line continuity.
If the lines are not straight, release the risers from the harness,
if possible. If not, take one of the two top lines and
untangle it until the line runs straight back to the canopy
without going around any of the other lines. Untangle the
risers and harness/container until the rest of the lines are
straight. Repeat with the other riser, if applicable. Attach
the rest of the connector links to the tension device and
do a thorough continuity check from the canopy to the
connector links. If the lines were incorrectly assembled,
disconnect the link from the riser, remove the lines, and
reinstall them onto the connector link in the correct order.
Reinstall the connector link to the riser. Check the entire
canopy for correct continuity. Make sure the connector
link is tightened properly.
| 
