
![]()
|
|
||
| CHAPTER 5. Prefl ight and Ground Operations
Wing Inspection Start with the nose. Inspect the nose plates and the attachment to the leading edges and keel. Ensure the nose plates are not cracked and the bolts are fastened securely. Check the wire attachments, top and bottom. Inspect the control frame, down tubes and control bar for dents and ensure they are straight. Inspect the control frame attachment to the keel. Inspect the control bar to down tube brackets and bolts. [Figure 5-43] Inspect fore and aft fl ying wire condition, attachment to the keel, and the lower control bar corner brackets. 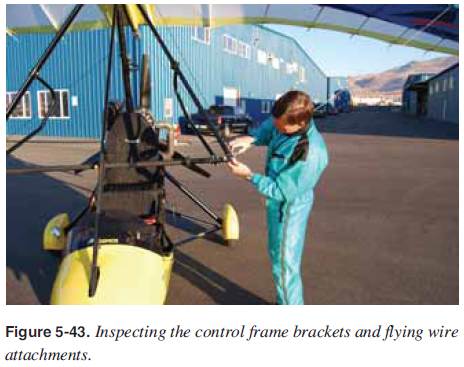 Inspect the left side fl ying wire attachment to the control bar bracket and condition of the fl ying wire up to the wing attachment. Examine the fl ying wire attachment to the leading edge and crossbar, as well as all hardware at this crossbar and leading edge junction. [Figure 5-44] Inspect the condition of the crossbar and the leading edge from the nose to the tip. Any discrepancies or tears in the leading edge fabric must lead to more detailed investigation of the leading edge spar itself. 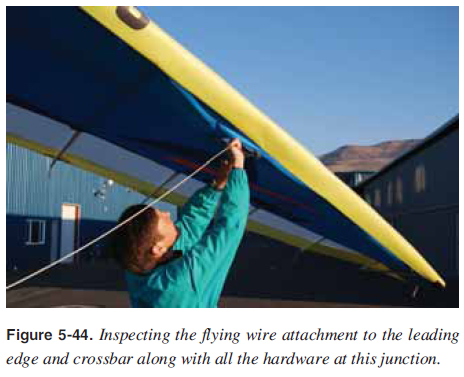 Inspect the tip area, including the washout strut and general condition of the tip. If it is a double surface wing, look inside the tip and examine the inside of the wing and its components. [Figure 5-45]  From the tip, inspect the surface condition of the fabric. Generally, if the fabric has not been exposed to sunlight for long periods and stored properly, the wing fabric should stay in good shape. Move along the trailing edge of the wing, inspecting the condition of the trailing edge and the tip batten attachments back to the keel. [Figure 5-46] Inspect the sail material, top and bottom, on the wing. Note that the trailing edge is vulnerable to rocks fl ying up from the wheels and hitting the propeller. Therefore, it is especially important to inspect the trailing edge in detail before each fl ight. 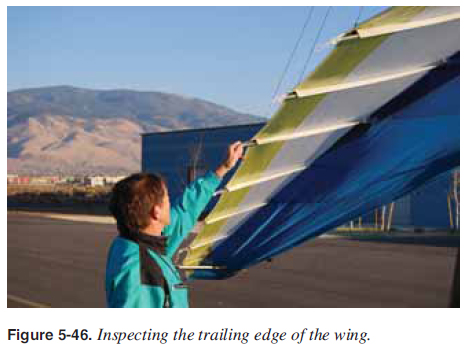 At the aft keel area in the middle of wing, inspect the kingpost and all the condition of the wires from the kingpost to ensure they are not wrapped around the trailing edge battens. [Figure 5-47] Inspect the wing tensioning hardware where the crossbar tensioning cables attach to the rear of the keel. Repeat this same sequence for the right (or opposite) side of the wing, in the reverse order. Inspect the condition of the wing attachment to the carriage, including the backup cable. [Figure 5-48] 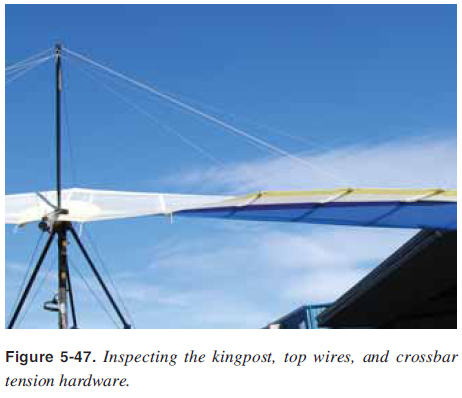 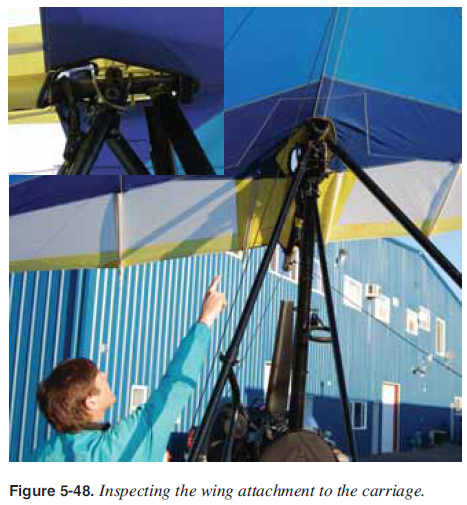 |
| ©AvStop Online Magazine Contact Us Return To Books |
