
![]()
|
|
||
| CHAPTER 5. Prefl ight and Ground Operations
Setting Up the WSC Aircraft Find a suitable area to set up the wing, such as grass, cement, or pavement out of the wind. Inside a large hangar is preferable since wind gusts are not a problem. If setting up outside, align the wing perpendicular to the wind. Most wings set up with the same basic procedure shown in Figures 5-11 through 5-33, but the POH should be referenced for the specifi c WSC aircraft. Rotate the wing bag so the zipper is facing up. [Figure 5-11] Unzip the bag. When setting up the wing, pay close attention to the specific pads, where they are located, and how they are attached for each component of the wing. As shown in Figure 5-12, the padding is made specifically for the control frame between the downtubes and the control bar. If every pad is not utilized when taking it down and transporting, there will be wear on components with cosmetic and/or structural damage to the wing. The POH may specify where pads go during the setup and takedown. However, when setting up any wing it is a good idea to take pictures, draw sketches, or take notes regarding protective pad location so they can be put back in the proper location during take down. 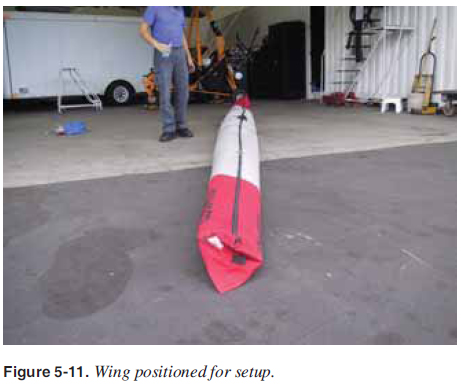 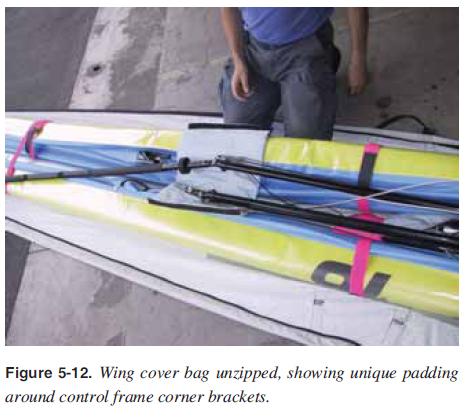 Assemble the triangular control frame without attaching the wires to the nose. [Figure 5-13] Rotate the wing up onto its control frame. [Figure 5-14] Place the front wires near the control bar so no one walks on them, remove, and roll up the cover bag. [Figure 5-15] Release the wing tie straps that are holding the leading edges together. [Figure 5-16] Spread the wing slightly. Remove the pads from the wing keel and kingpost. Note the protective pads still on the wing tips protecting them from the ground during most of the wing set up procedure. [Figure 5-17] Continually manage the wing pads and wing tie straps by rolling the pads into the cover bag so they do not blow away. [Figure 5-18] If the kingpost is loose, insert it onto the keel to stand upright. If the kingpost is attached, swing it upright. Topless wings have no kingpost. Spread the wings as necessary to keep the kingpost straight up, [Figure 5-19] spreading them out carefully and evenly. Do not force anything. Ensure the wires are not wrapped around anything. Separate the right and left battens. Separate the straight battens (for a double surface wing) and set them to the side. Lay out the battens, longest to shortest from the root to the tip next to the pocket they go into on both sides. Note the protective pads are still on the wing tips so they are protected. [Figure 5-20] Insert the battens into the batten pockets, starting at the root and work out to the tip. [Figure 5-21] Most batten attachments are double pull. [Figure 5-22] Some manufacturers use cord or elastic, and others use a system that slips into the sail itself. See the POH for wing details. Insert battens from the root towards the tip about ¾ the way out on each side. Leave the tip battens for later. Spread the wings as far as possible. [Figure 5-23] Check to ensure all the wires are straight, not wrapped around, and clear to tension the wing. Tension the wing by pulling back on the crossbar tensioning cable and pulling the crossbar back into position. This may require signifi cant effort for some wings. Secure the tensioning cable to the back of the keel. [Figure 5-24] If the keel does not extend out, then support the aft end of the keel to lift the tips off of the ground. [Figure 5-25] Move to the front and secure the front control frame fl ying wires to the underside nose attachment. [Figure 5-26] Remove the tip bag protectors and install the tip battens, continuing to move from the root to the tips on each side. Insert the washout strut into the leading edge. Each manufacturer has its own washout strut systems and tip battens. Some manufacturers have no washout struts. Refer to the POH for wing specifi cs. [Figure 5-27] 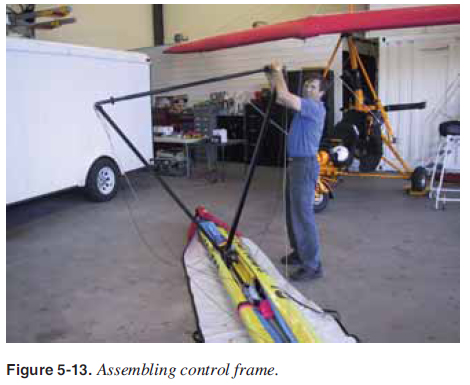 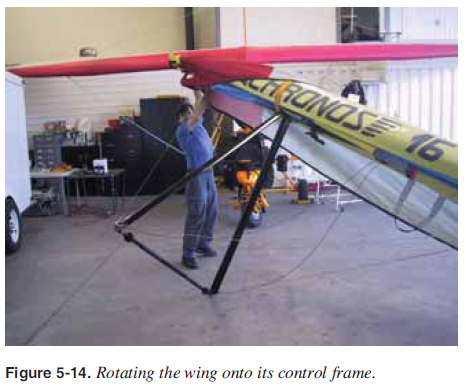  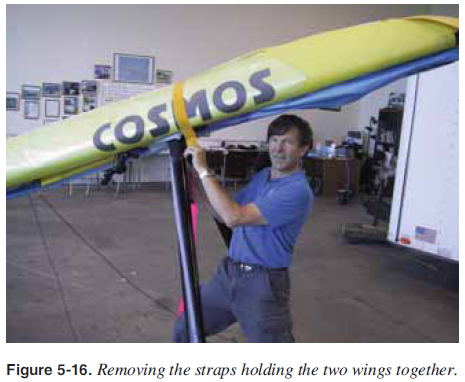  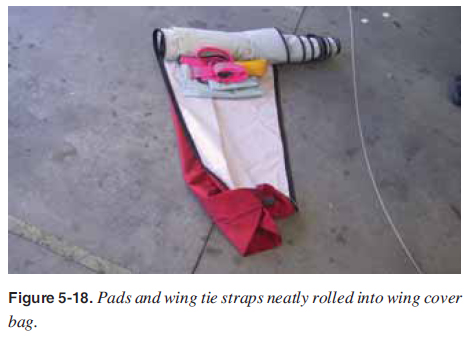 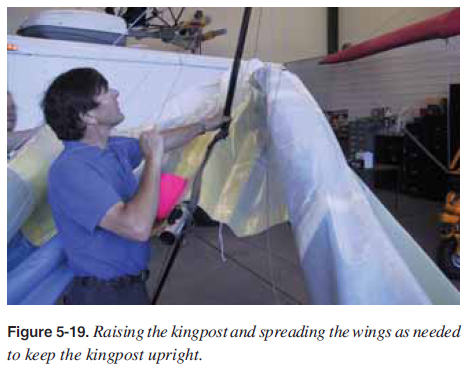 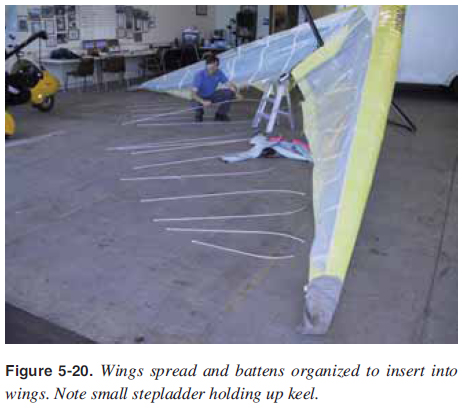 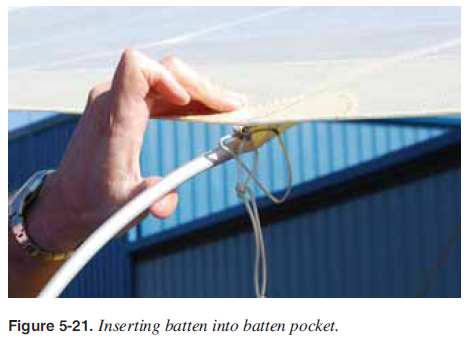 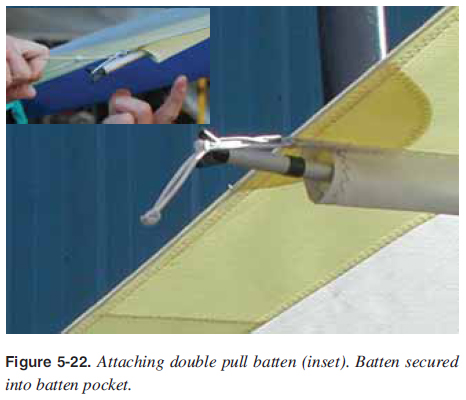 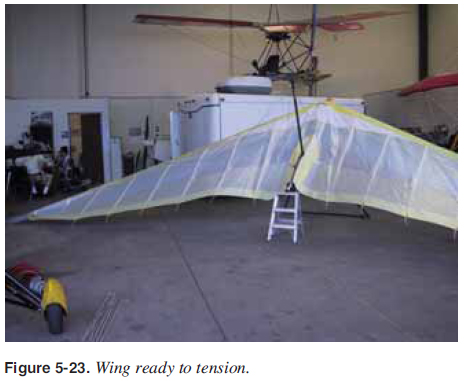 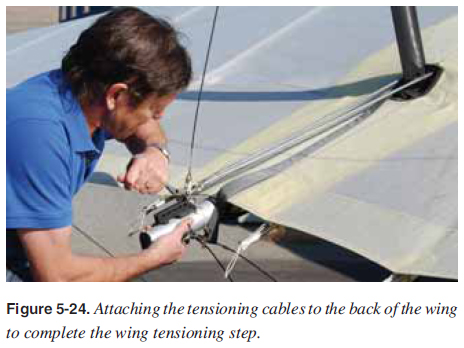 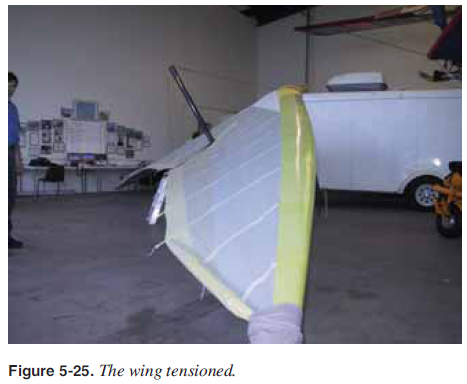 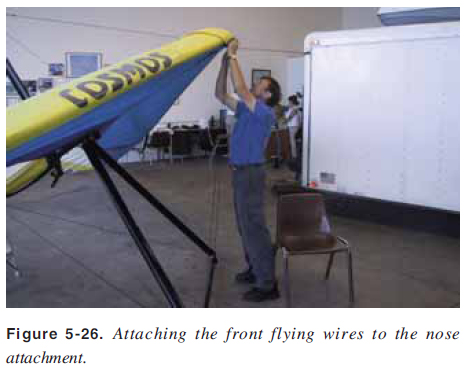 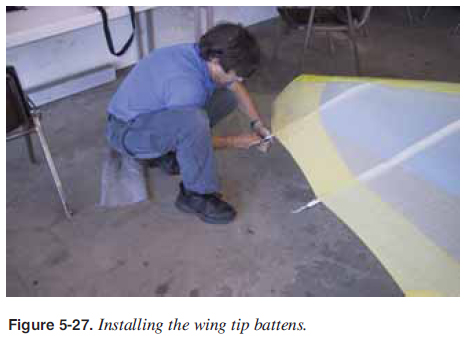 Insert bottom battens for a double surface. If inside a hangar where there is no wind, this can be done by putting the nose down, making it easier to install the lower battens. [Figure 5-28] If not already accomplished, lift up on the back of the keel and put the wing on its nose. Lower the undercarriage mast and line up the undercarriage behind the wing exactly in the middle. Move the undercarriage forward and attach the mast to the proper hang point location on the wing keel. Consult the POH for the proper hang point for desired trim, speed, and loading at this time. Attach the backup cable at this time also. [Figure 5-29] 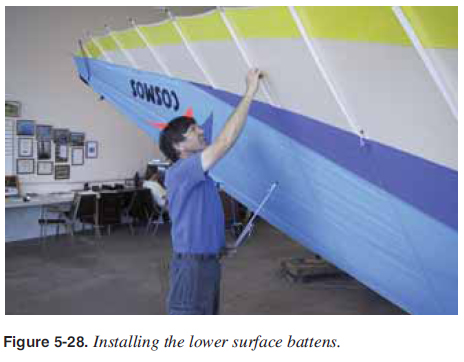 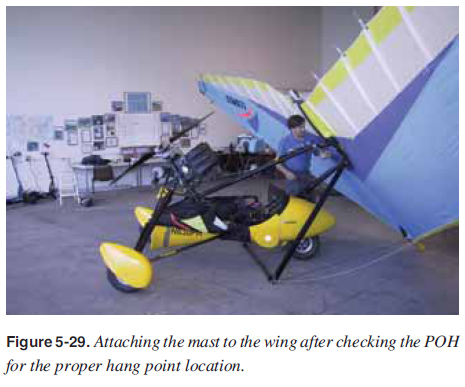 Lift up the nose and let the carriage roll backward until the wing is level and the control bar is in front of the front wheel of the carriage. Engage the parking brake and chock the back of the carriage wheels. Ensure everything in the fl ight deck is free and clear so the wing can be lifted freely into position. [Figure 5-30] Lift the wing into position and lock the carriage mast. This position is unique to each manufacturer as some masts hinge above the fl ight deck. Refer to the POH for details on a specifi c aircraft. [Figure 5-31] Install the carriage front tube. Secure the control bar to the front tube with a bungee. [Figure 5-32] Attach any fairing or seats as required. [Figure 5-33] 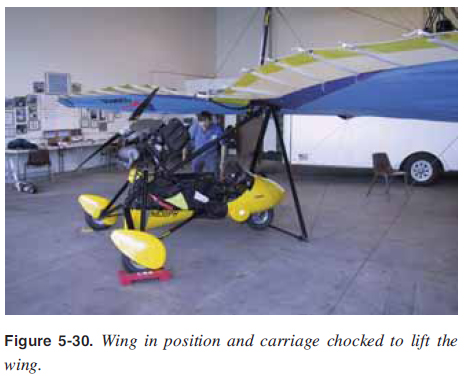 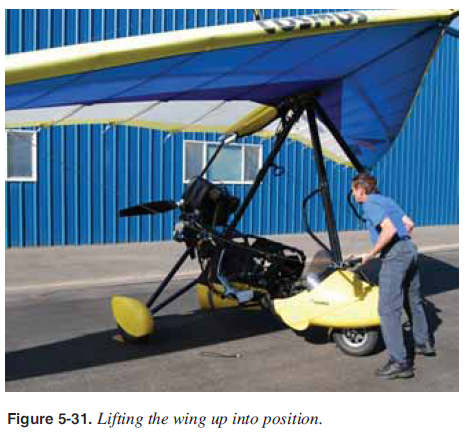 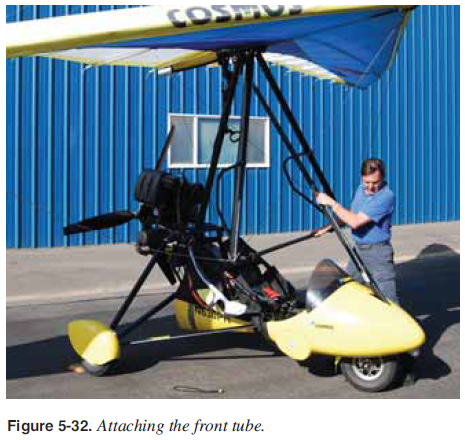 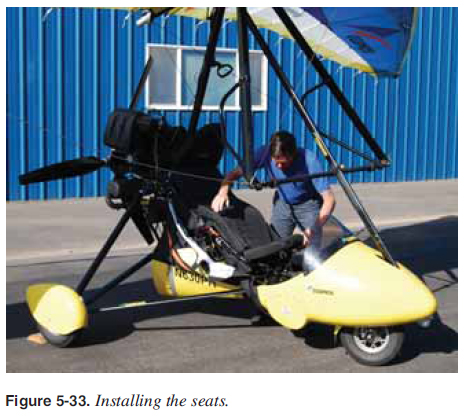 An alternate method of setting up the wing is to do so on the ground. This is not preferable because the sail is susceptible to getting dirty. However, this method could be used for setting up wings if it is windy or if recommended by a particular manufacturer. The ground method steps are the same as those in the assembly procedure except after the control bar is assembled, the wing is rolled over so the control frame is under the wing. The wing is assembled as if it were standing on its control frame. After the wing is tensioned, the nose is lifted, the control frame pulled forward, and the nose wire secured. This is not a common practice, and the POH should be reviewed for details on this method if it is allowed by the manufacturer. |
| ©AvStop Online Magazine Contact Us Return To Books |
